Please check System Requirements before.
Unity installation
Check
https://docs.unity3d.com/Manual/InstallingUnity.html https://docs.unity3d.com/Manual/OnlineActivationGuide.html
Getting e-skin SDK
Visit Xenoma Developer Website: https://developer.xenoma.com

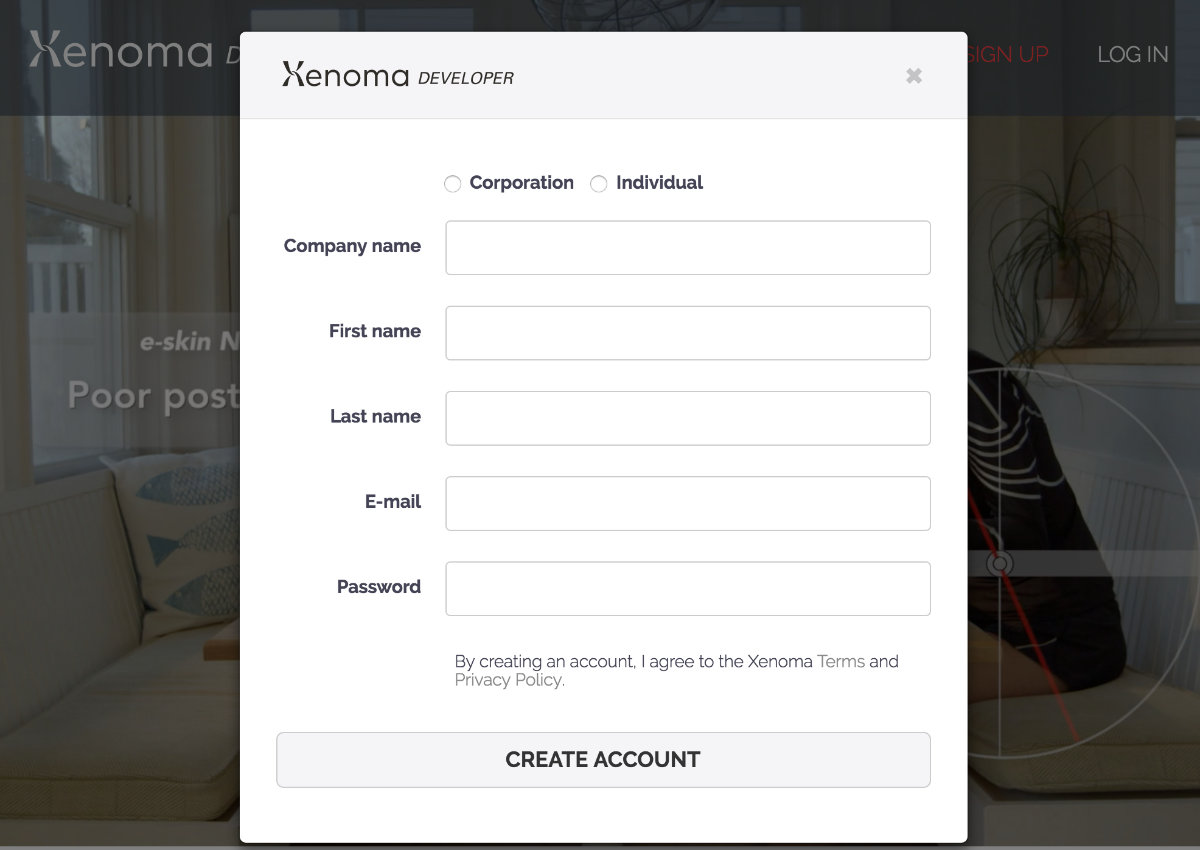
Create Xenoma Account
Fill in the blanks, when you use the e-skin as a company member, select “Corporation”
Open SDK Download page
Enter the “Serial Number” printed on your e-skin Hub. (Be careful typing zero, not “O” and one, not “I”)
Also check box on the License Agreement.
Download e-skin SDK file and unzip it.

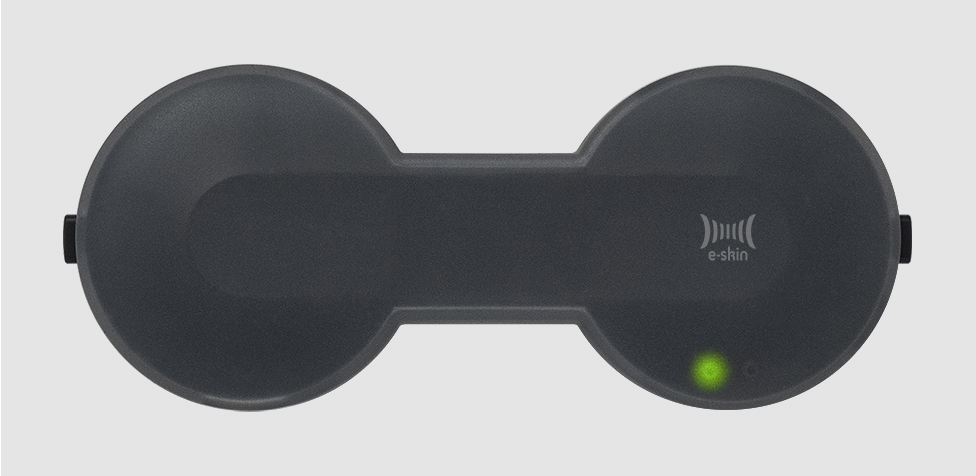
e-skin Shirt&Hub preparation
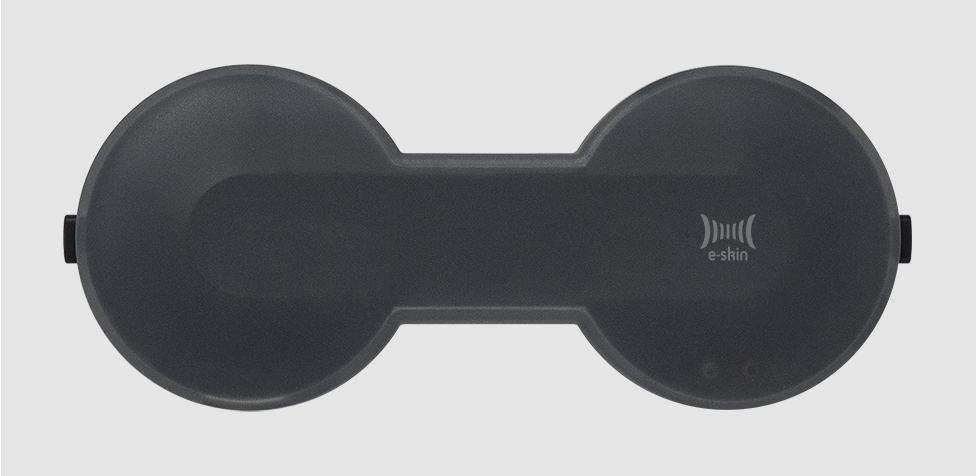
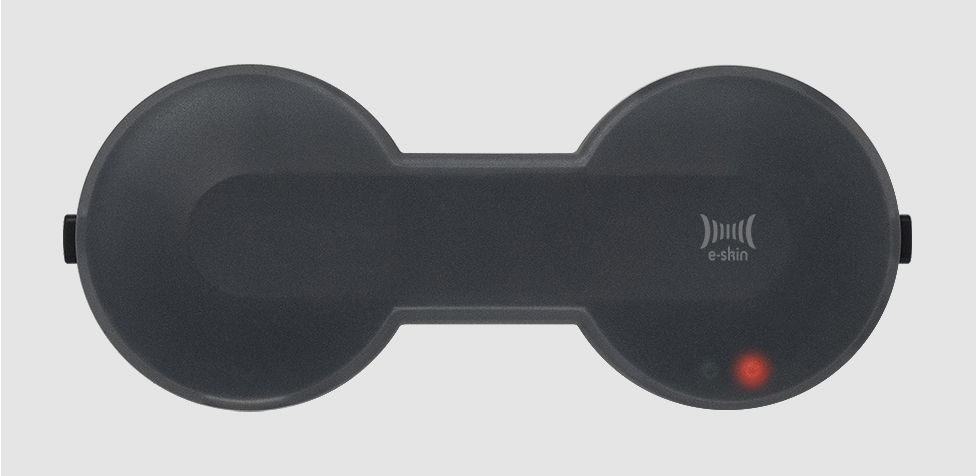
Check the battery of e-skin Hub
Charge OK
The red flushing with 2 second intervals says low battery. The Hub should be recharged earlier.

Remark) When you charge the battery, the red LED switches on.
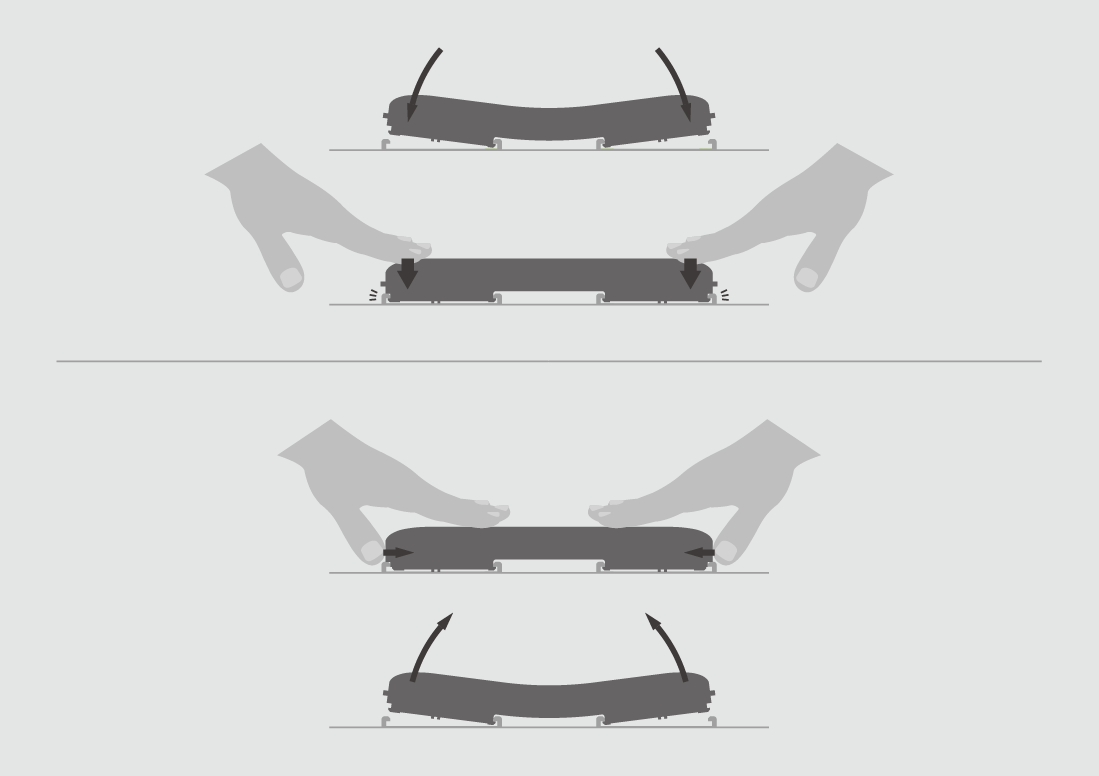
Wear your e-skin on a shirt as follows

Attach e-skin Hub onto the e-skin Shirt
You firstly put the inner edge of the Hub and then push the outer edge. The Hub makes a clicking sound as it correctly connects to the plate on the e-skin.
When you put the Hub to the e-skin, green LED firstly starts flushing at 2 second intervals. It is trying to connect to other devices by Bluetooth. The green LED switches on as the Hub is connected to a device.
Pairing to your e-skin Hub
Open the “Settings” window, and click to “Devices”
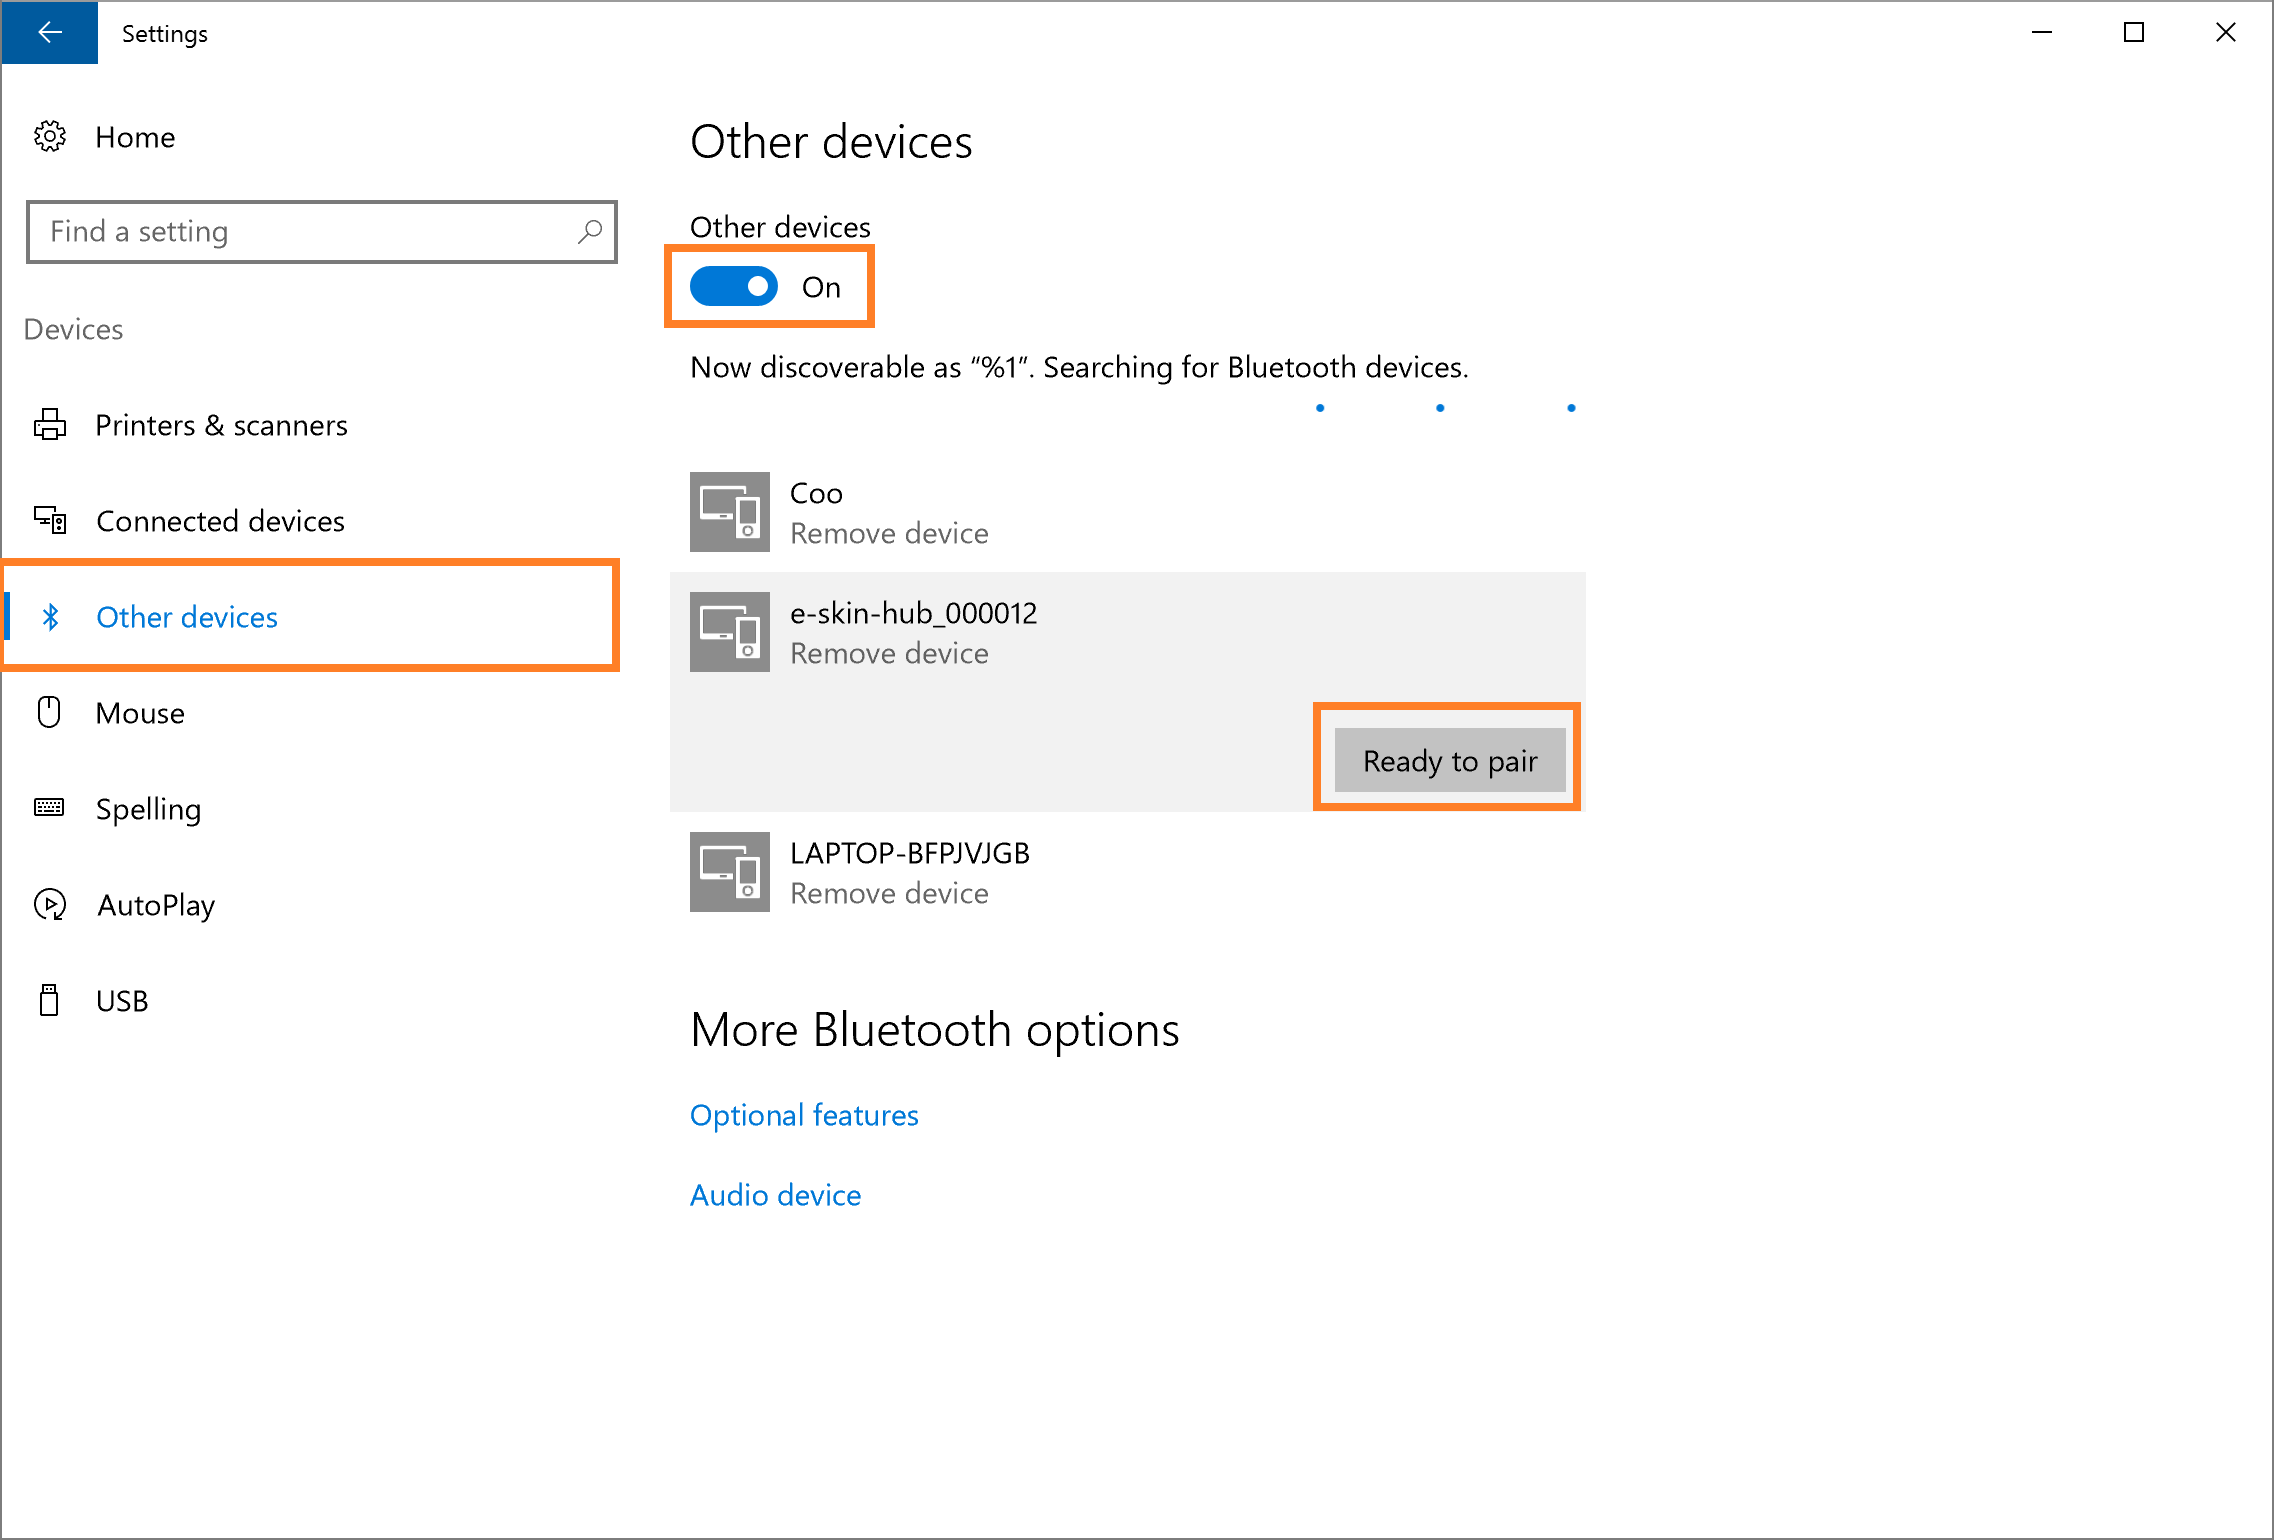
Select “Other devices” from devices menu, and turn on the “Other devices”. Find your e-skin Hub in the list. The e-skin Hub will display like “e-skin-hub_******”. Click “Ready to Pair” and pairing to your e-skin Hub.

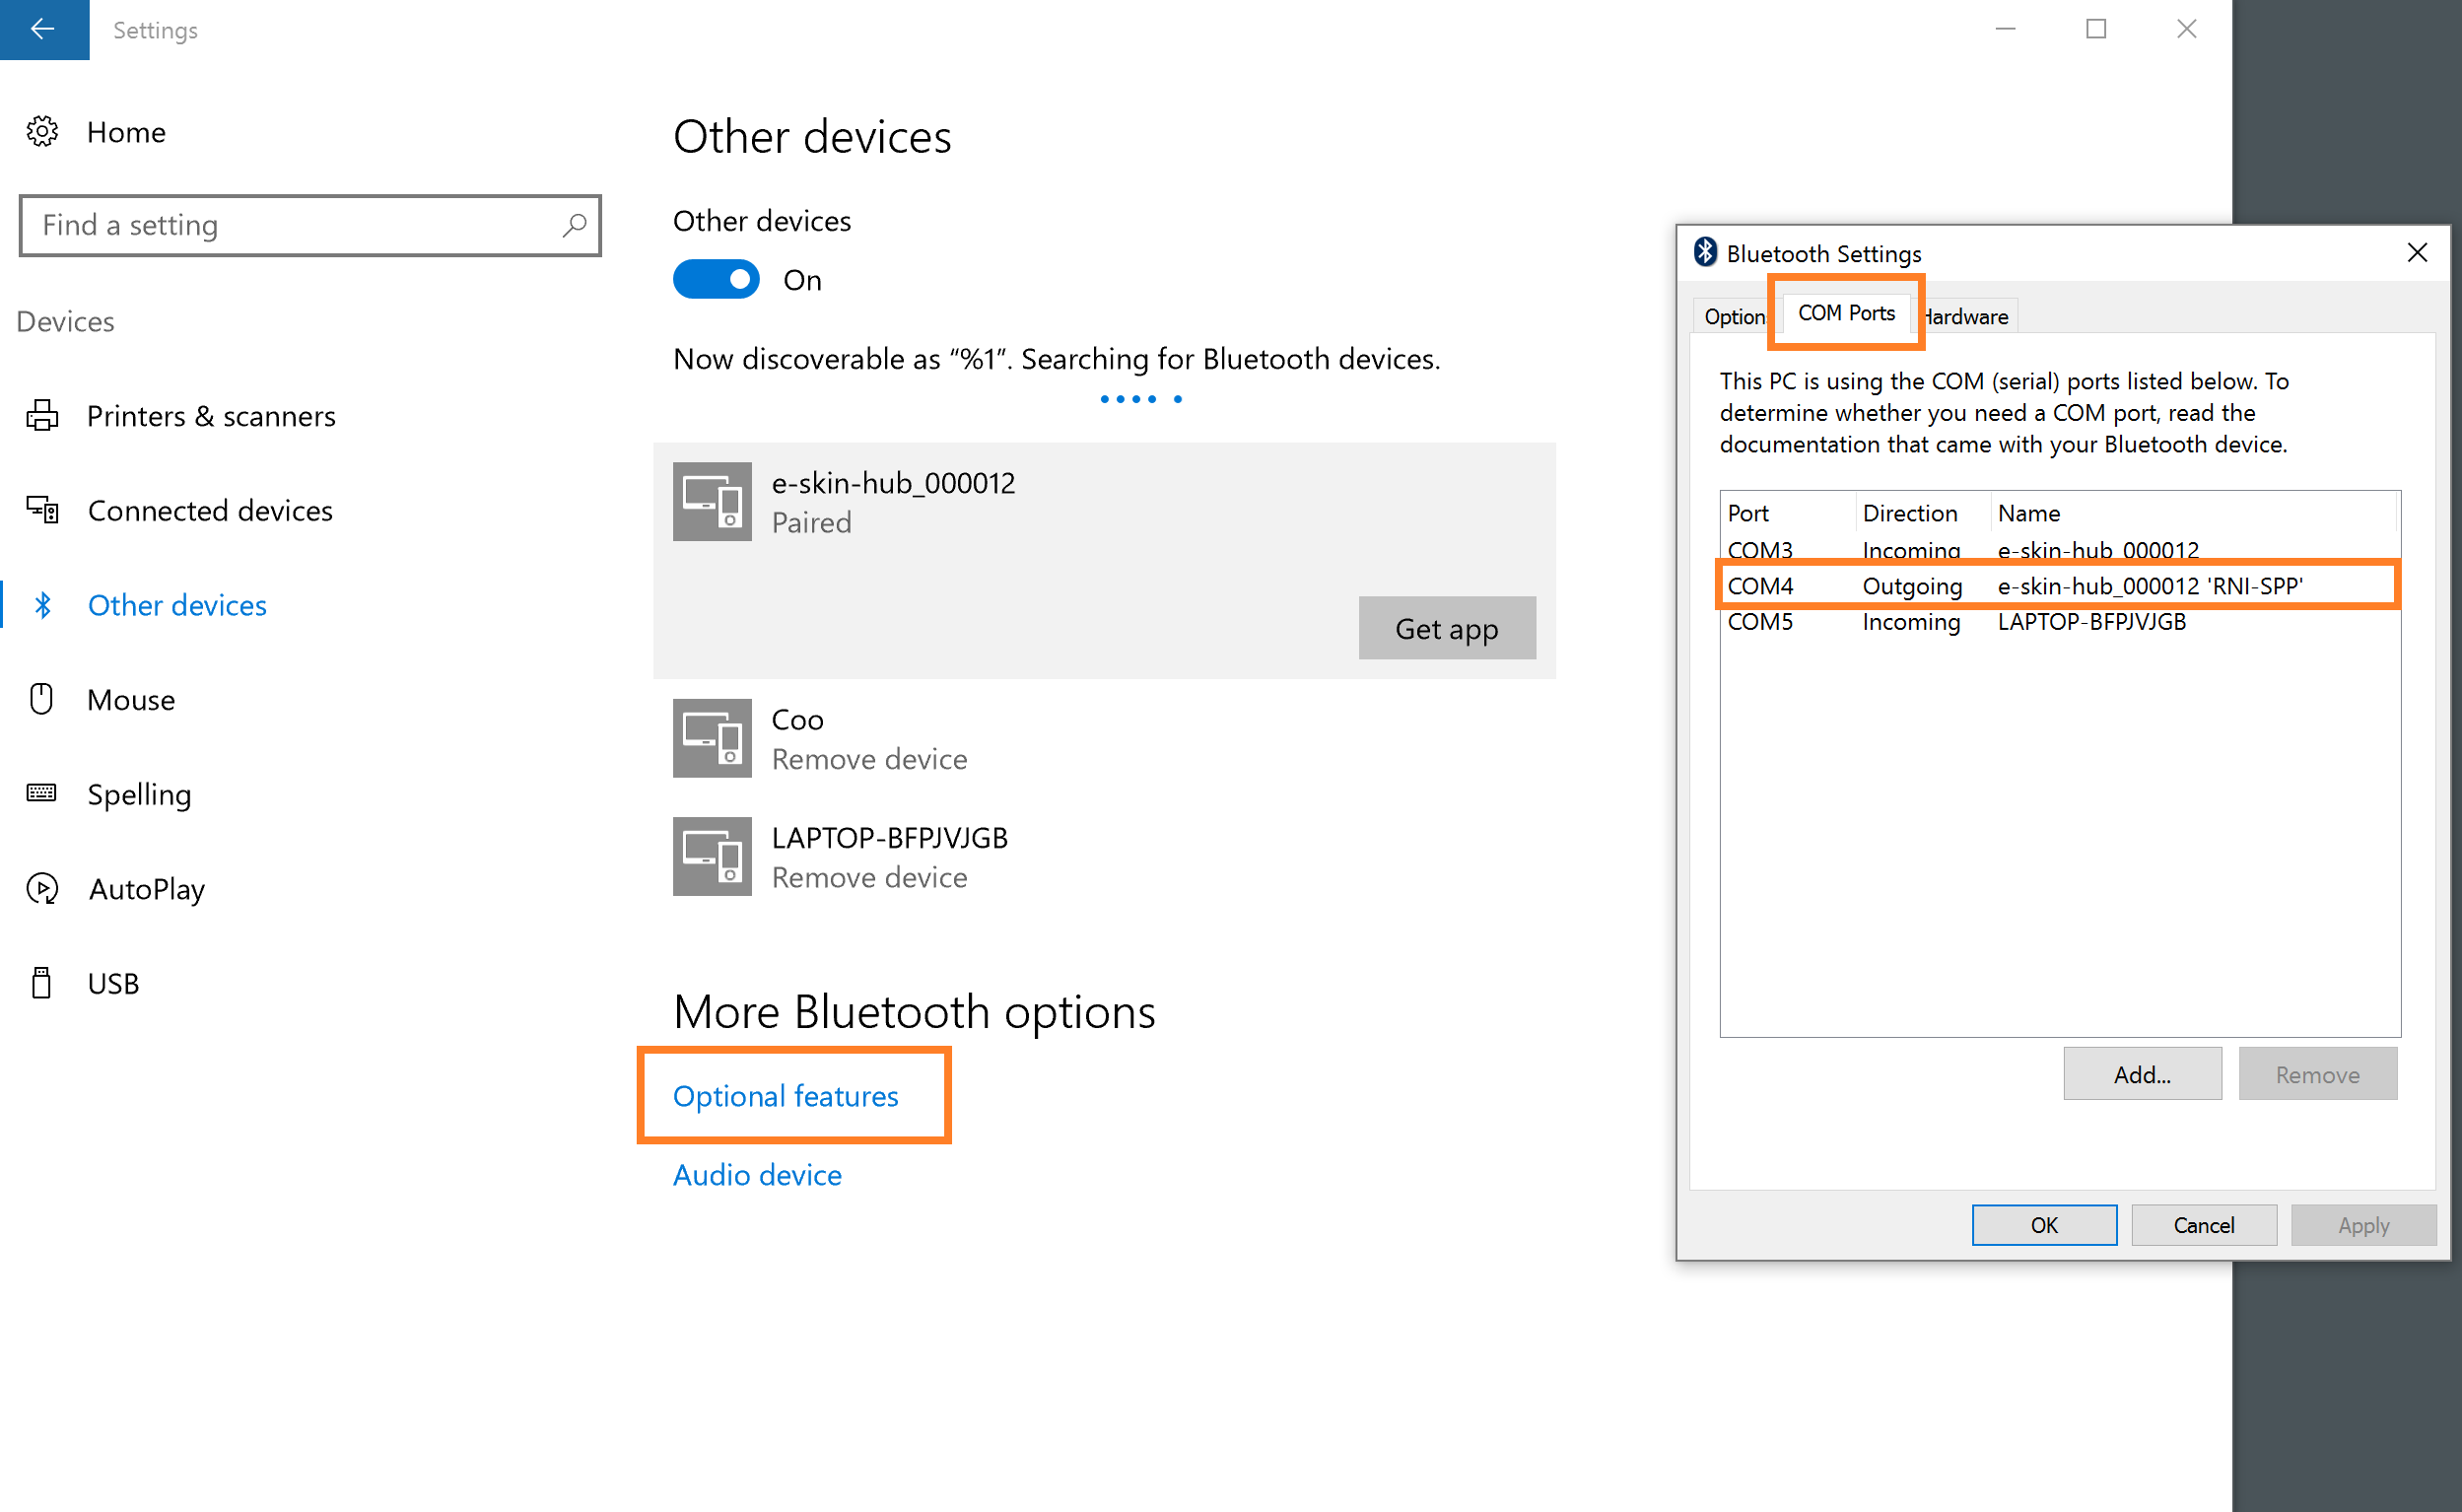
After pairing to your e-skin Hub, click “Option features” and open the Bluetooth settings window. Select “COM Ports” tab, and make sure the port name that has connected your e-skin Hub (Direction is Outgoing). In a case of this capture image, “COM4” is connected to e-skin-hub_00012.
Start development with Unity
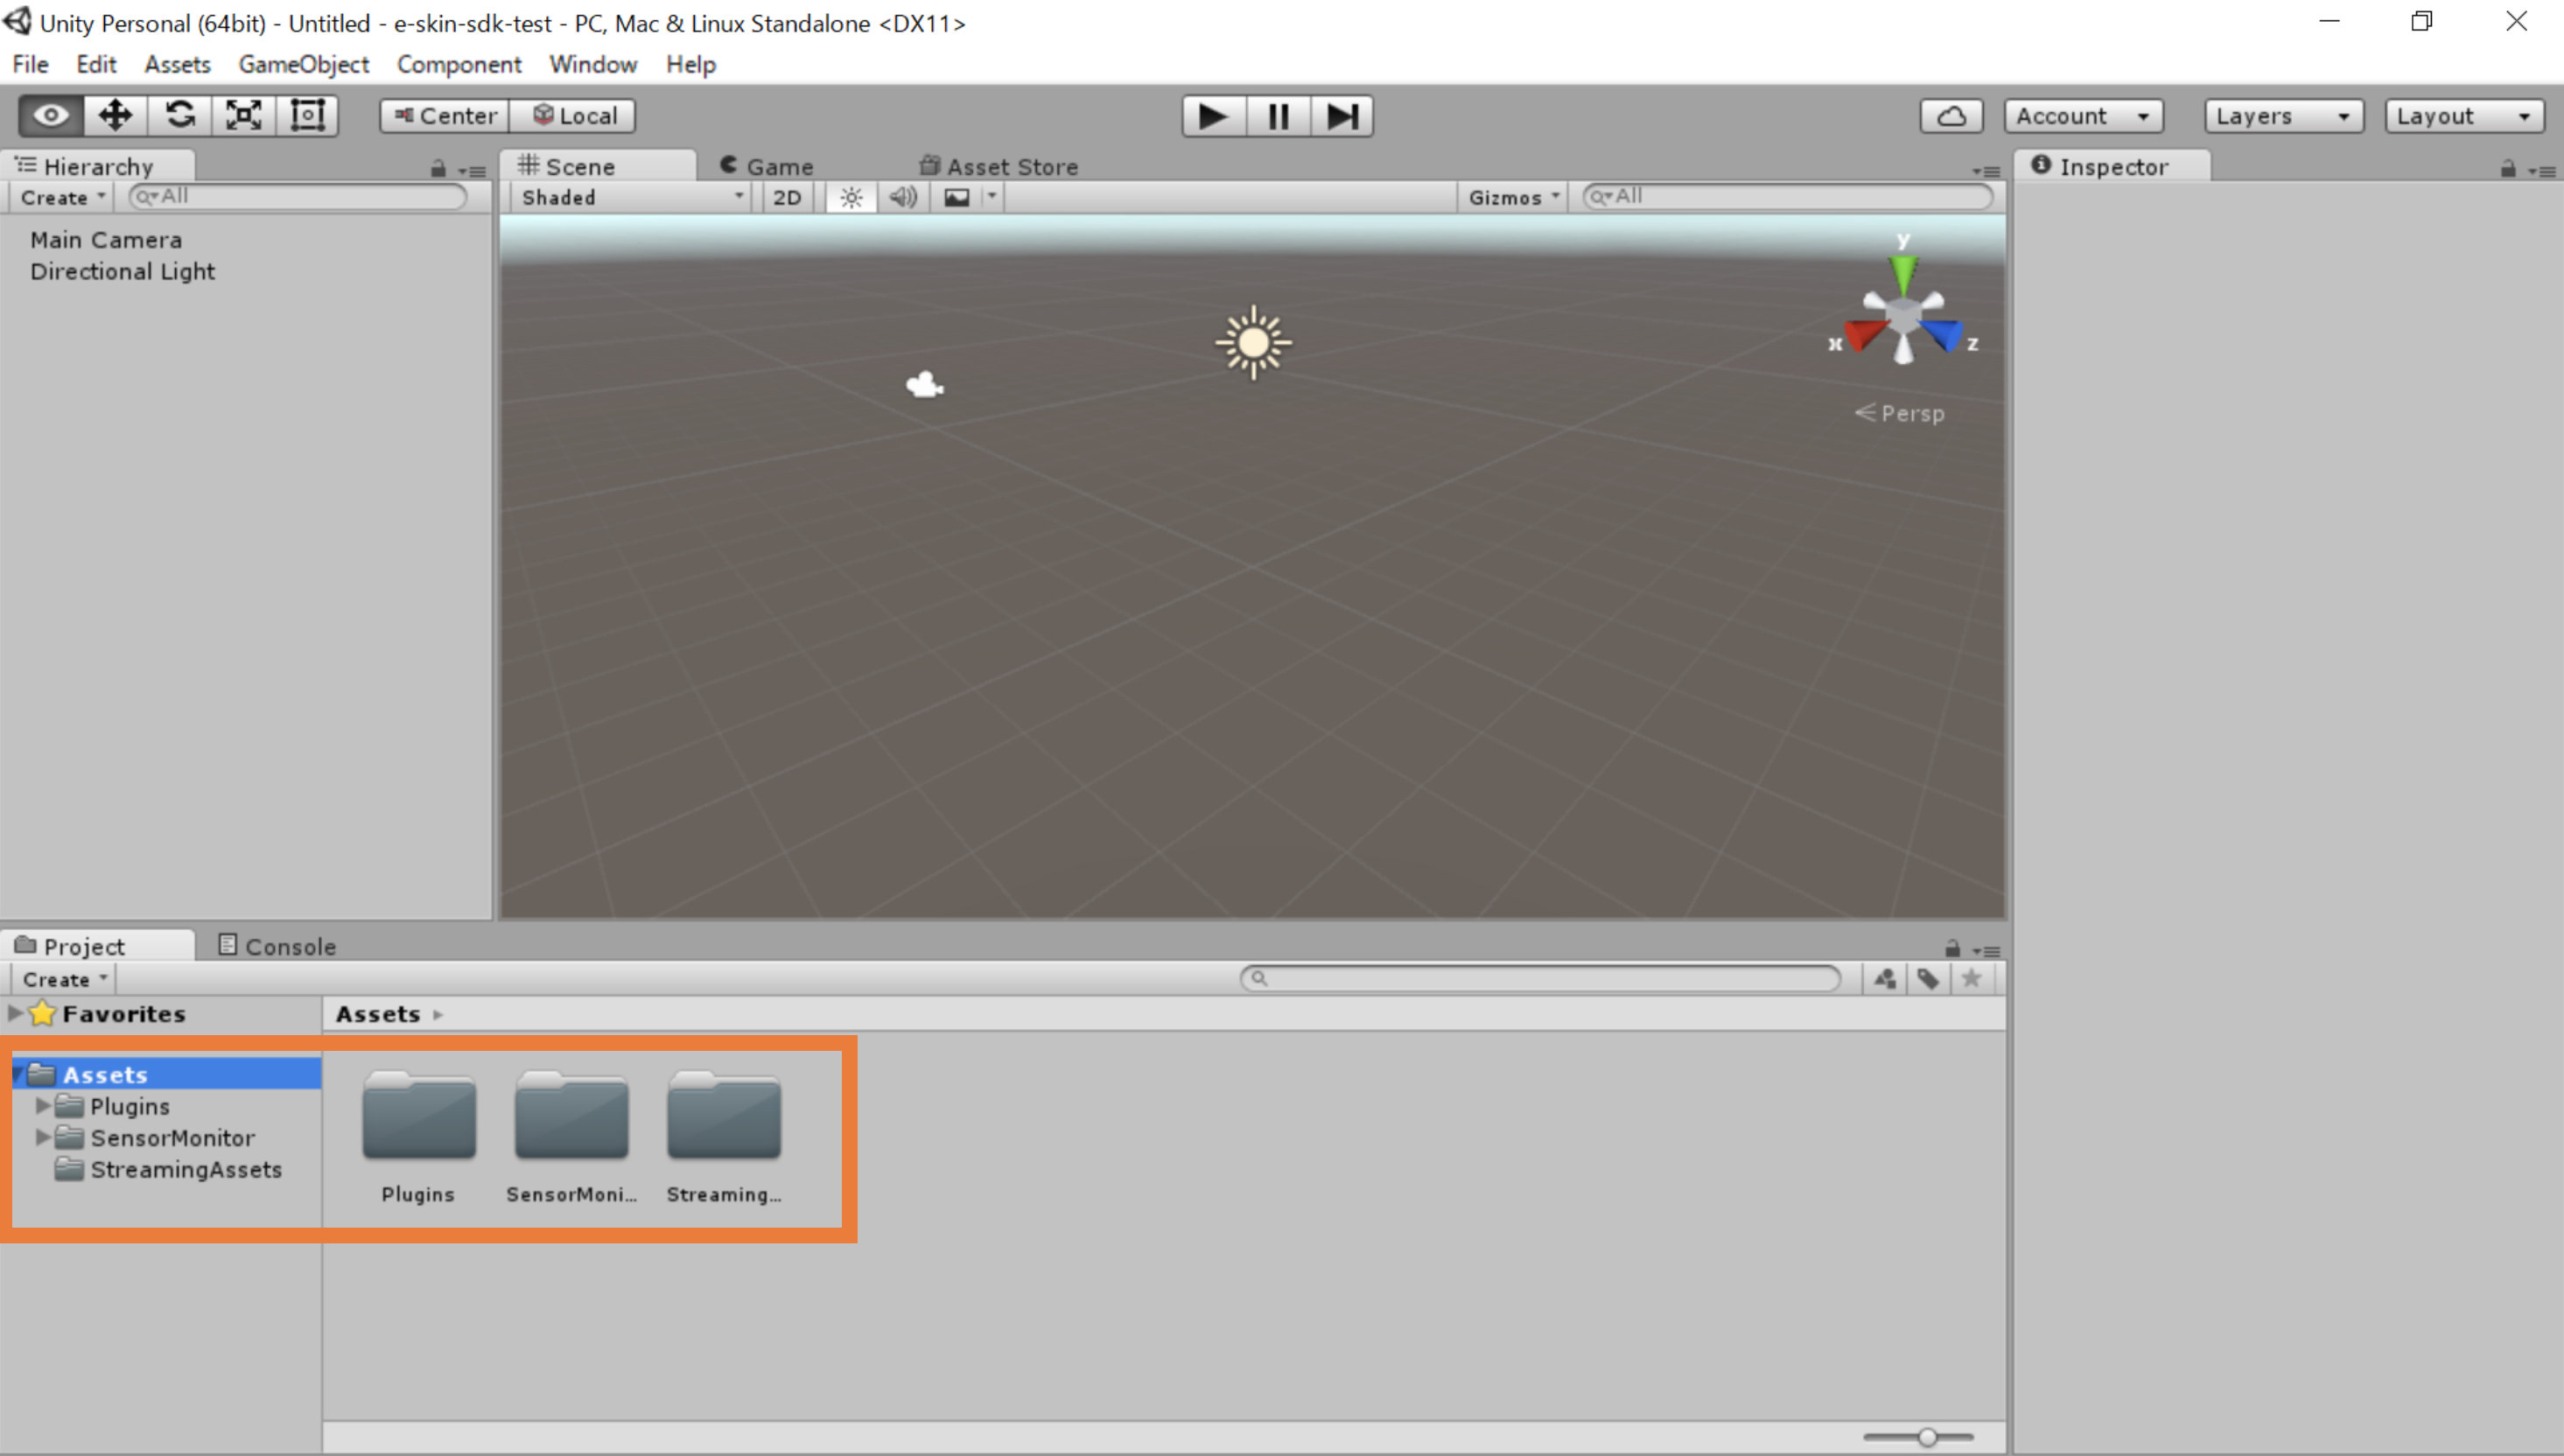
Create new Unity project or open your Unity project, copy 3 folders at the unzipped e-skin SDK into Unity Assets folder. e.g.) Path:/[Your Unity project]/Assets/*
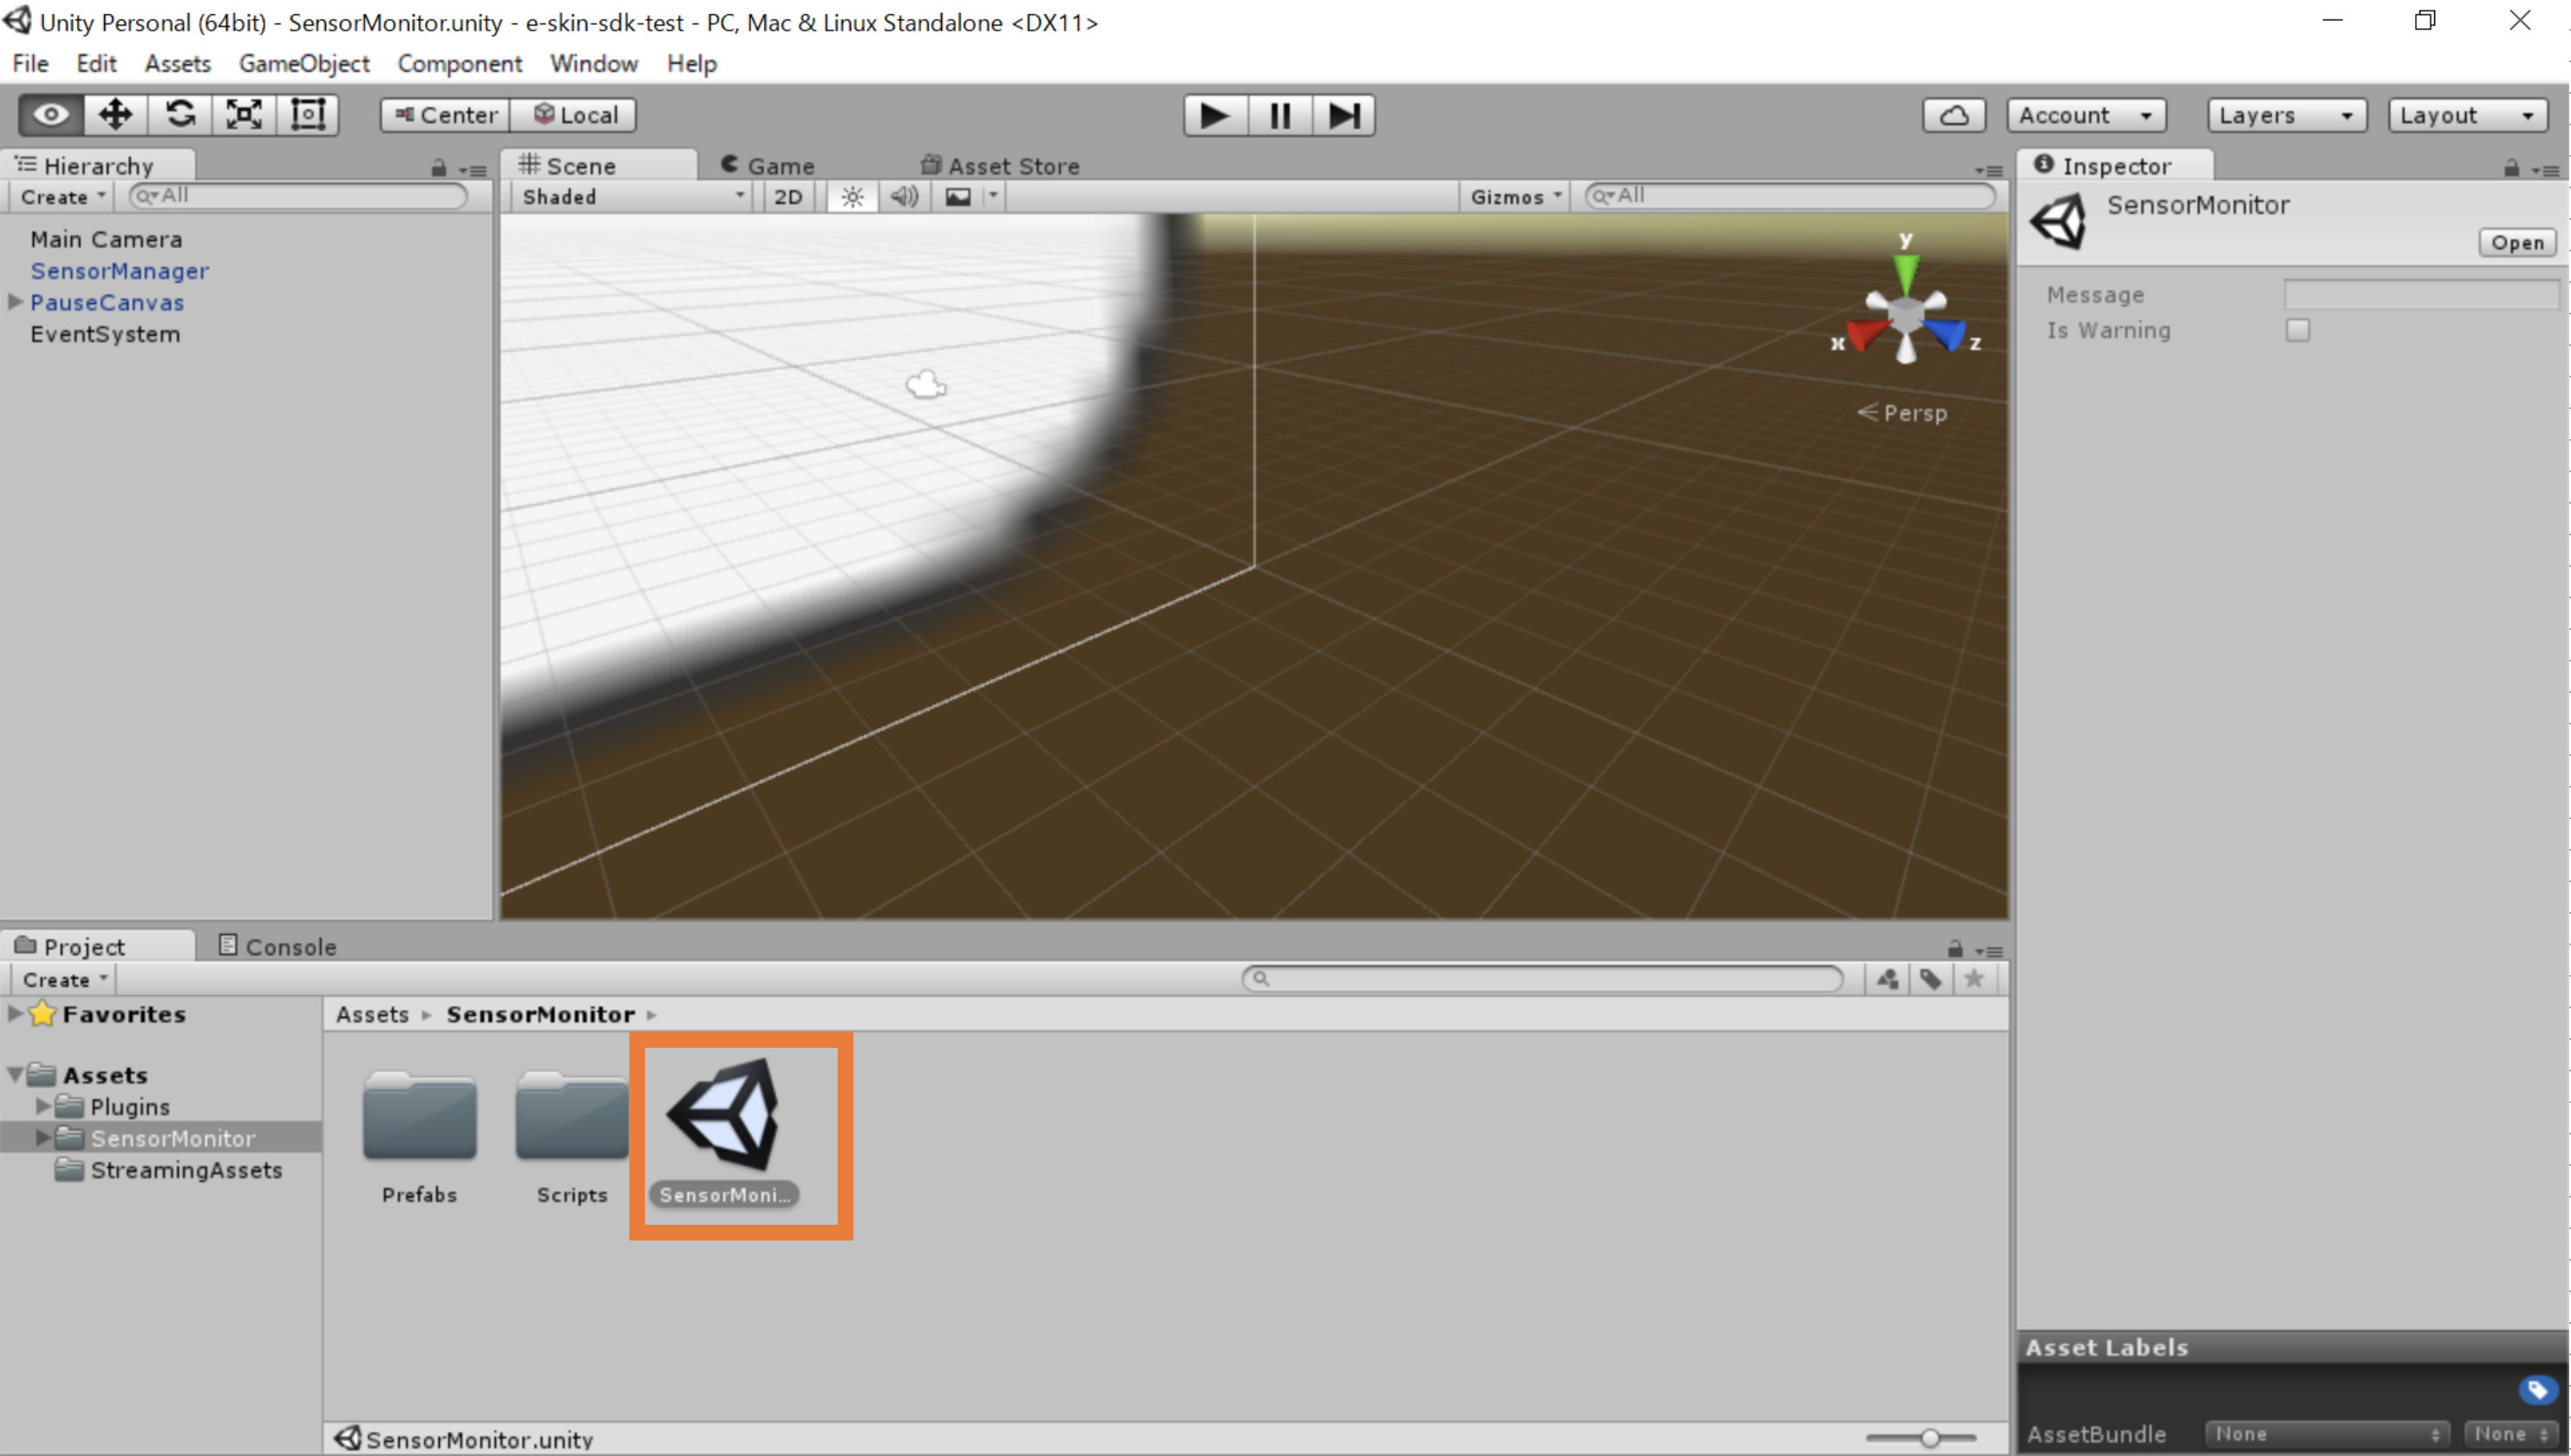
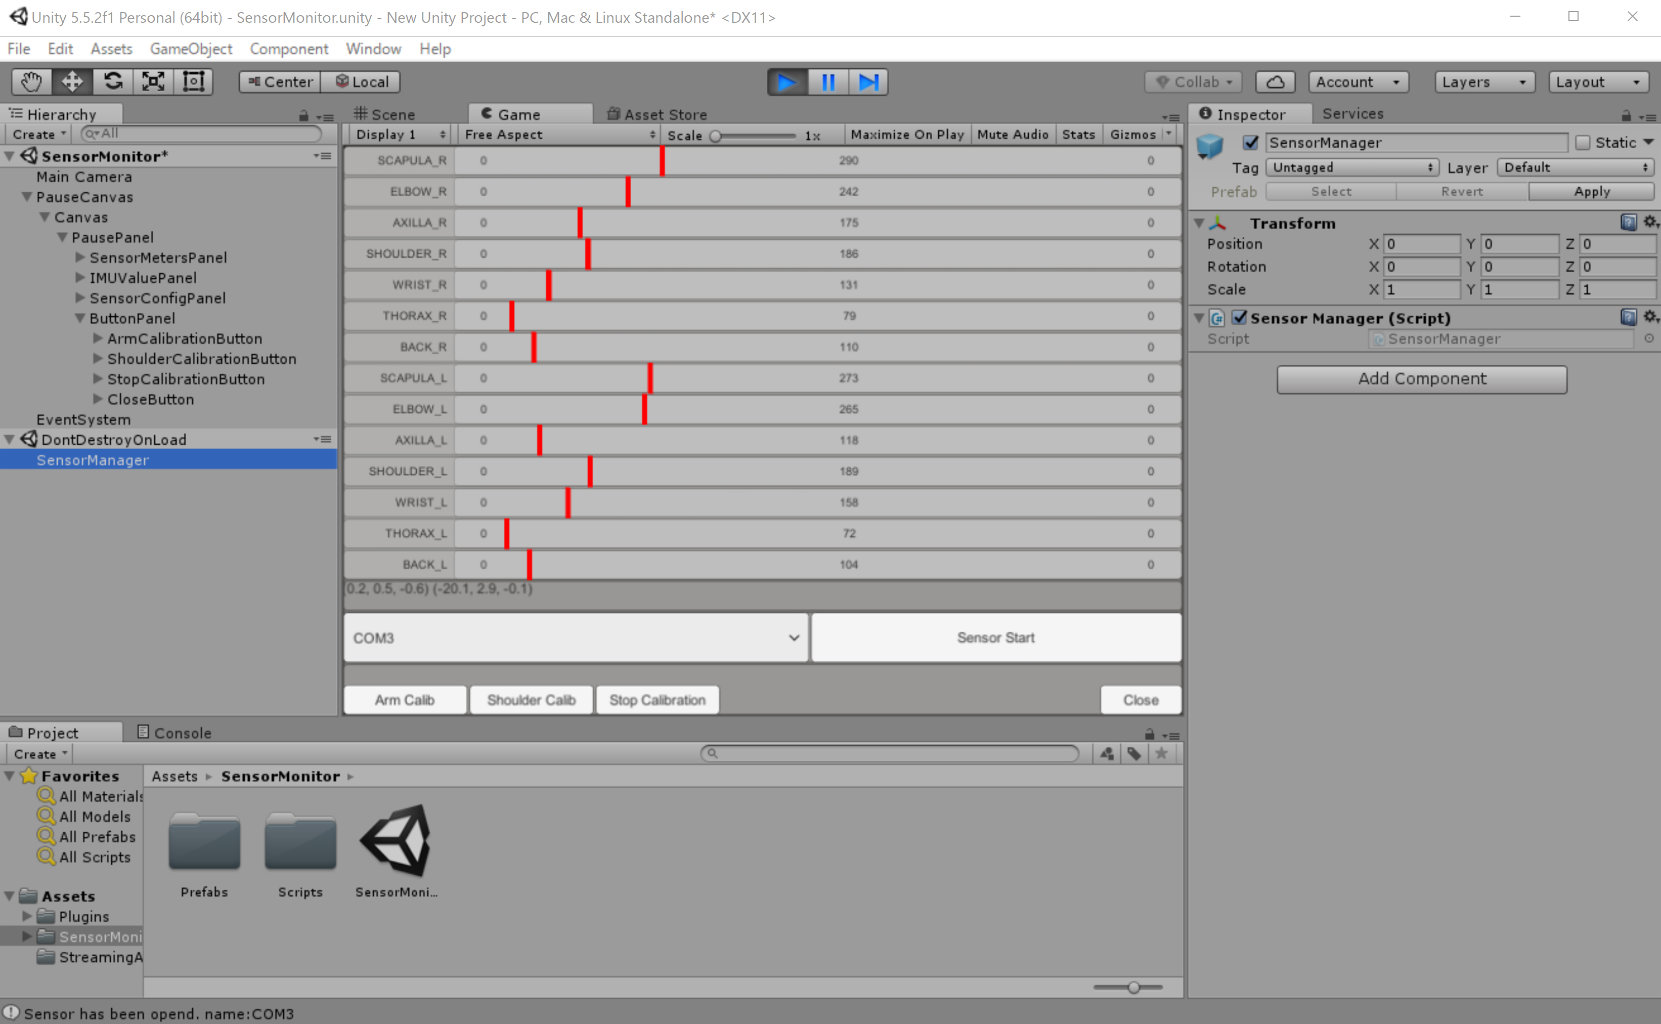
Open SensorMonitor.unty in the SensorMonitor folder.
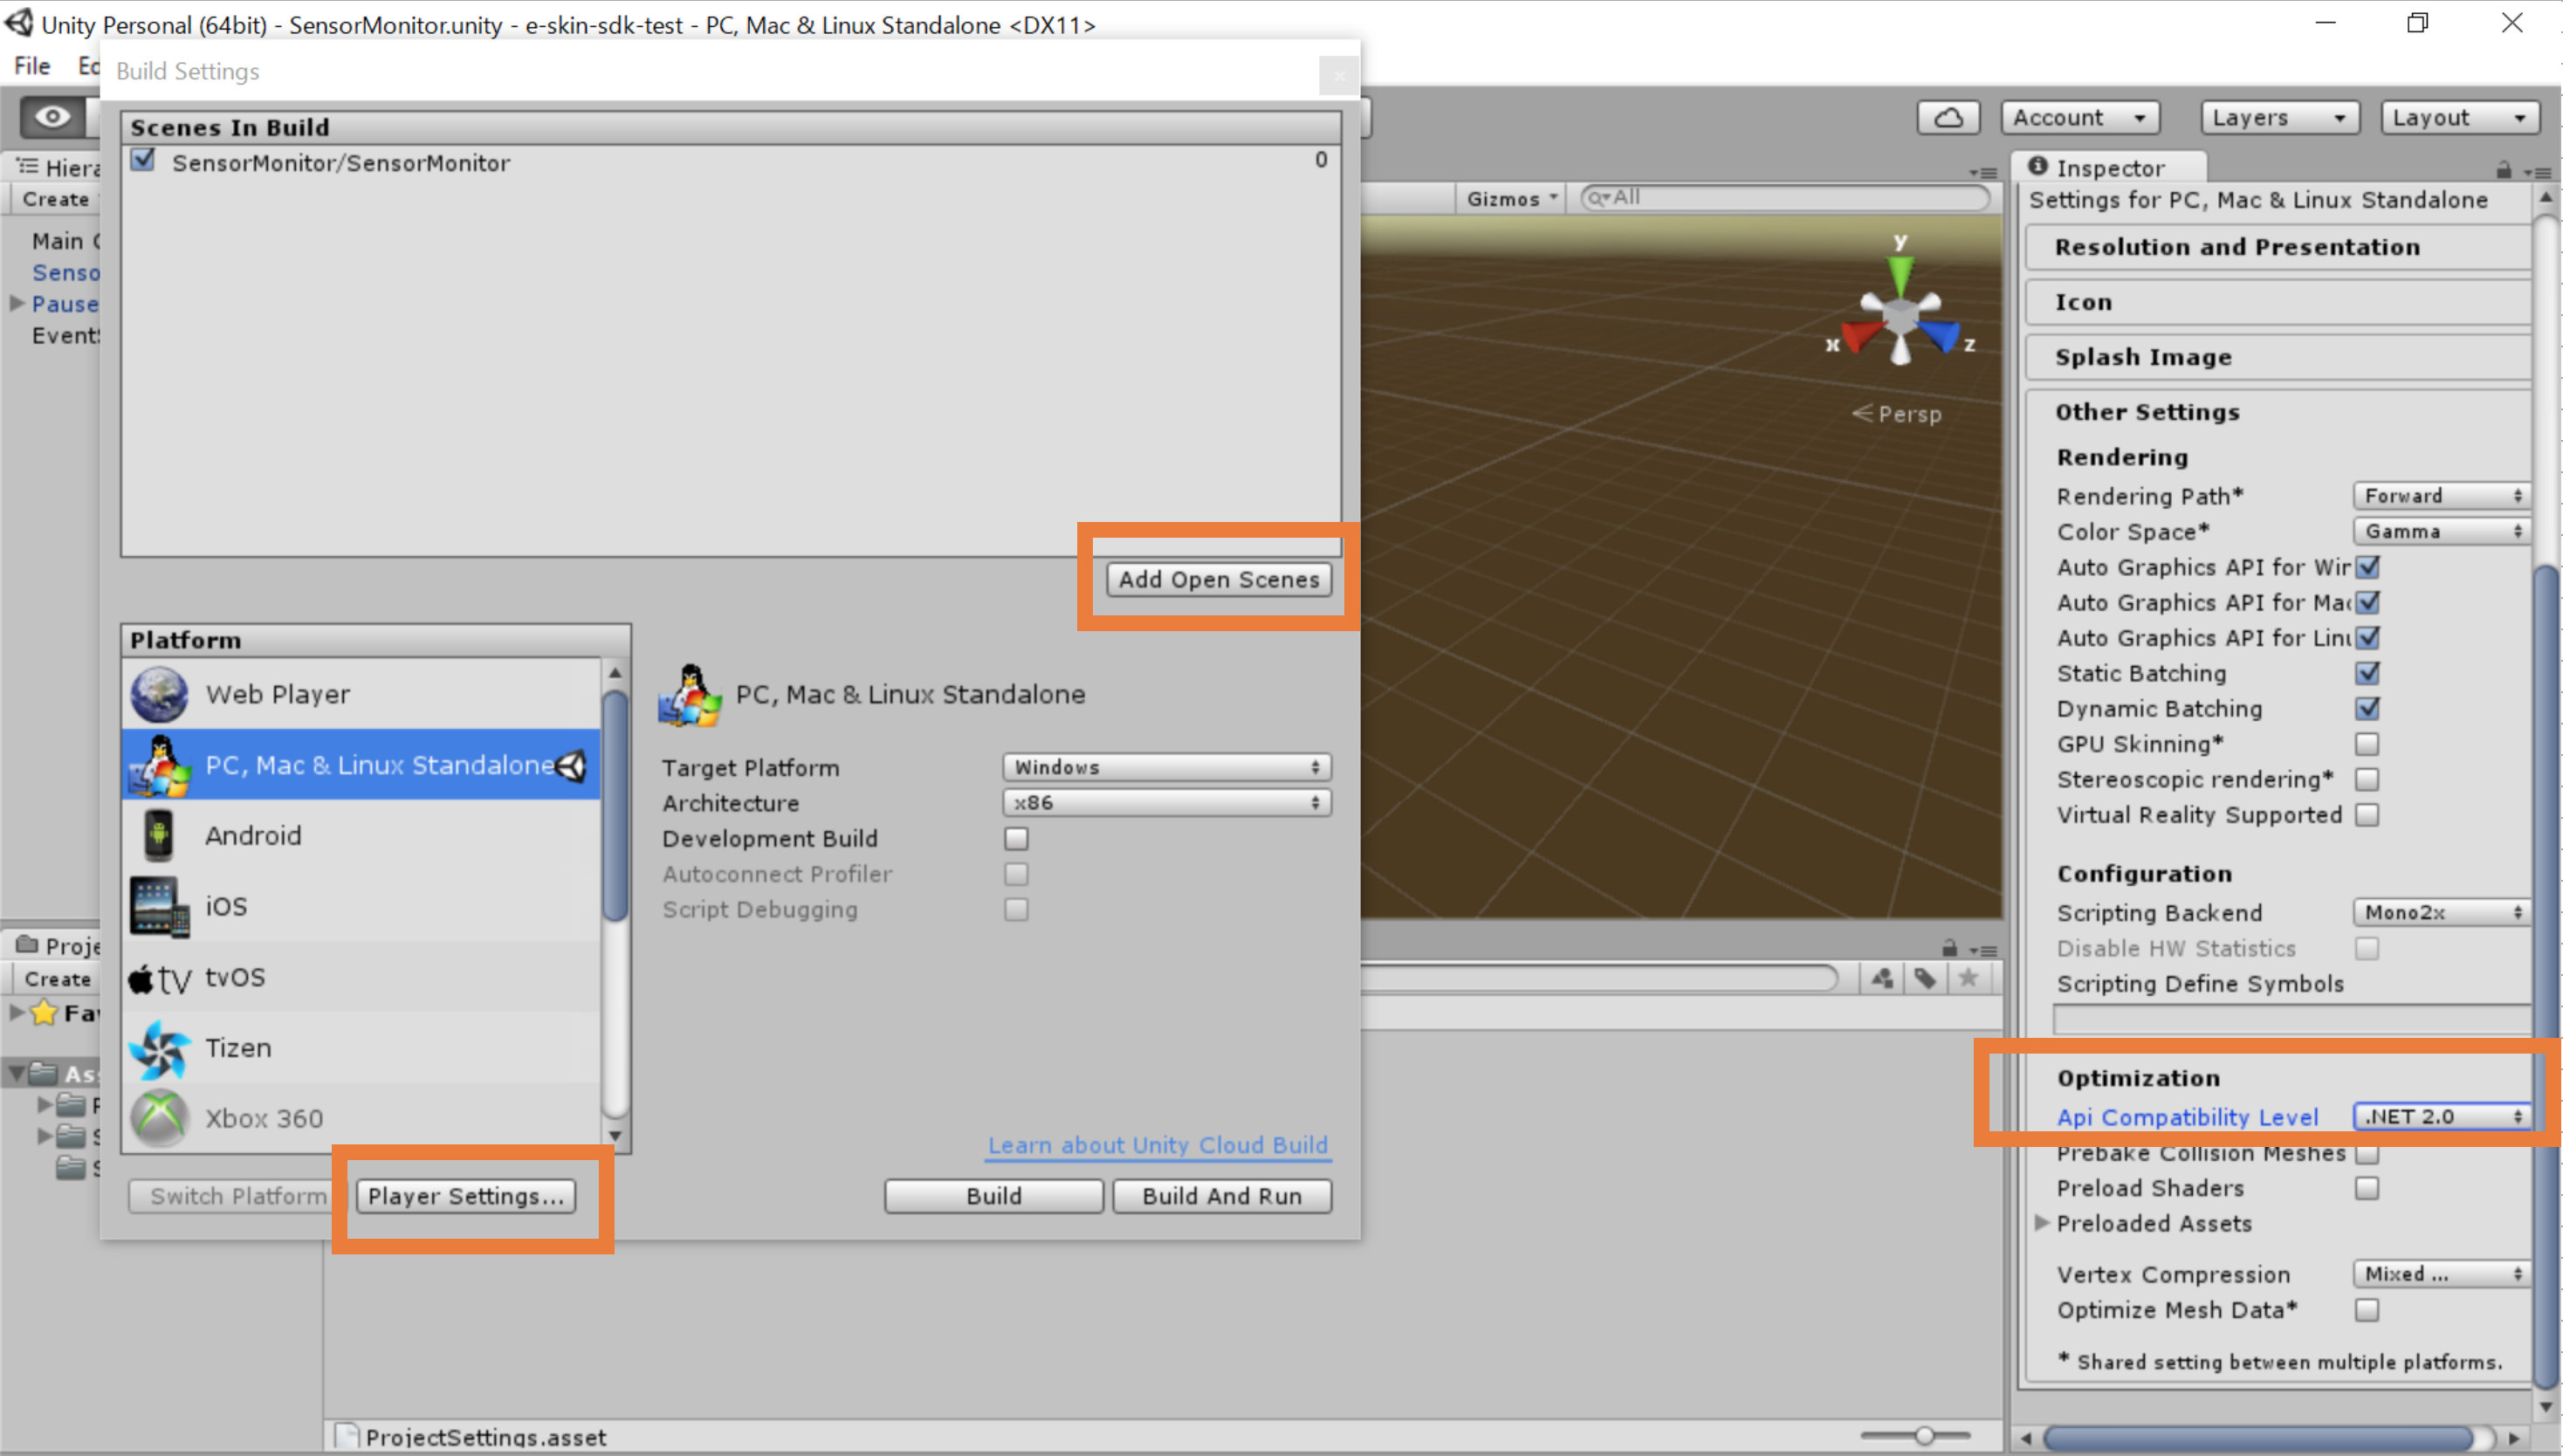
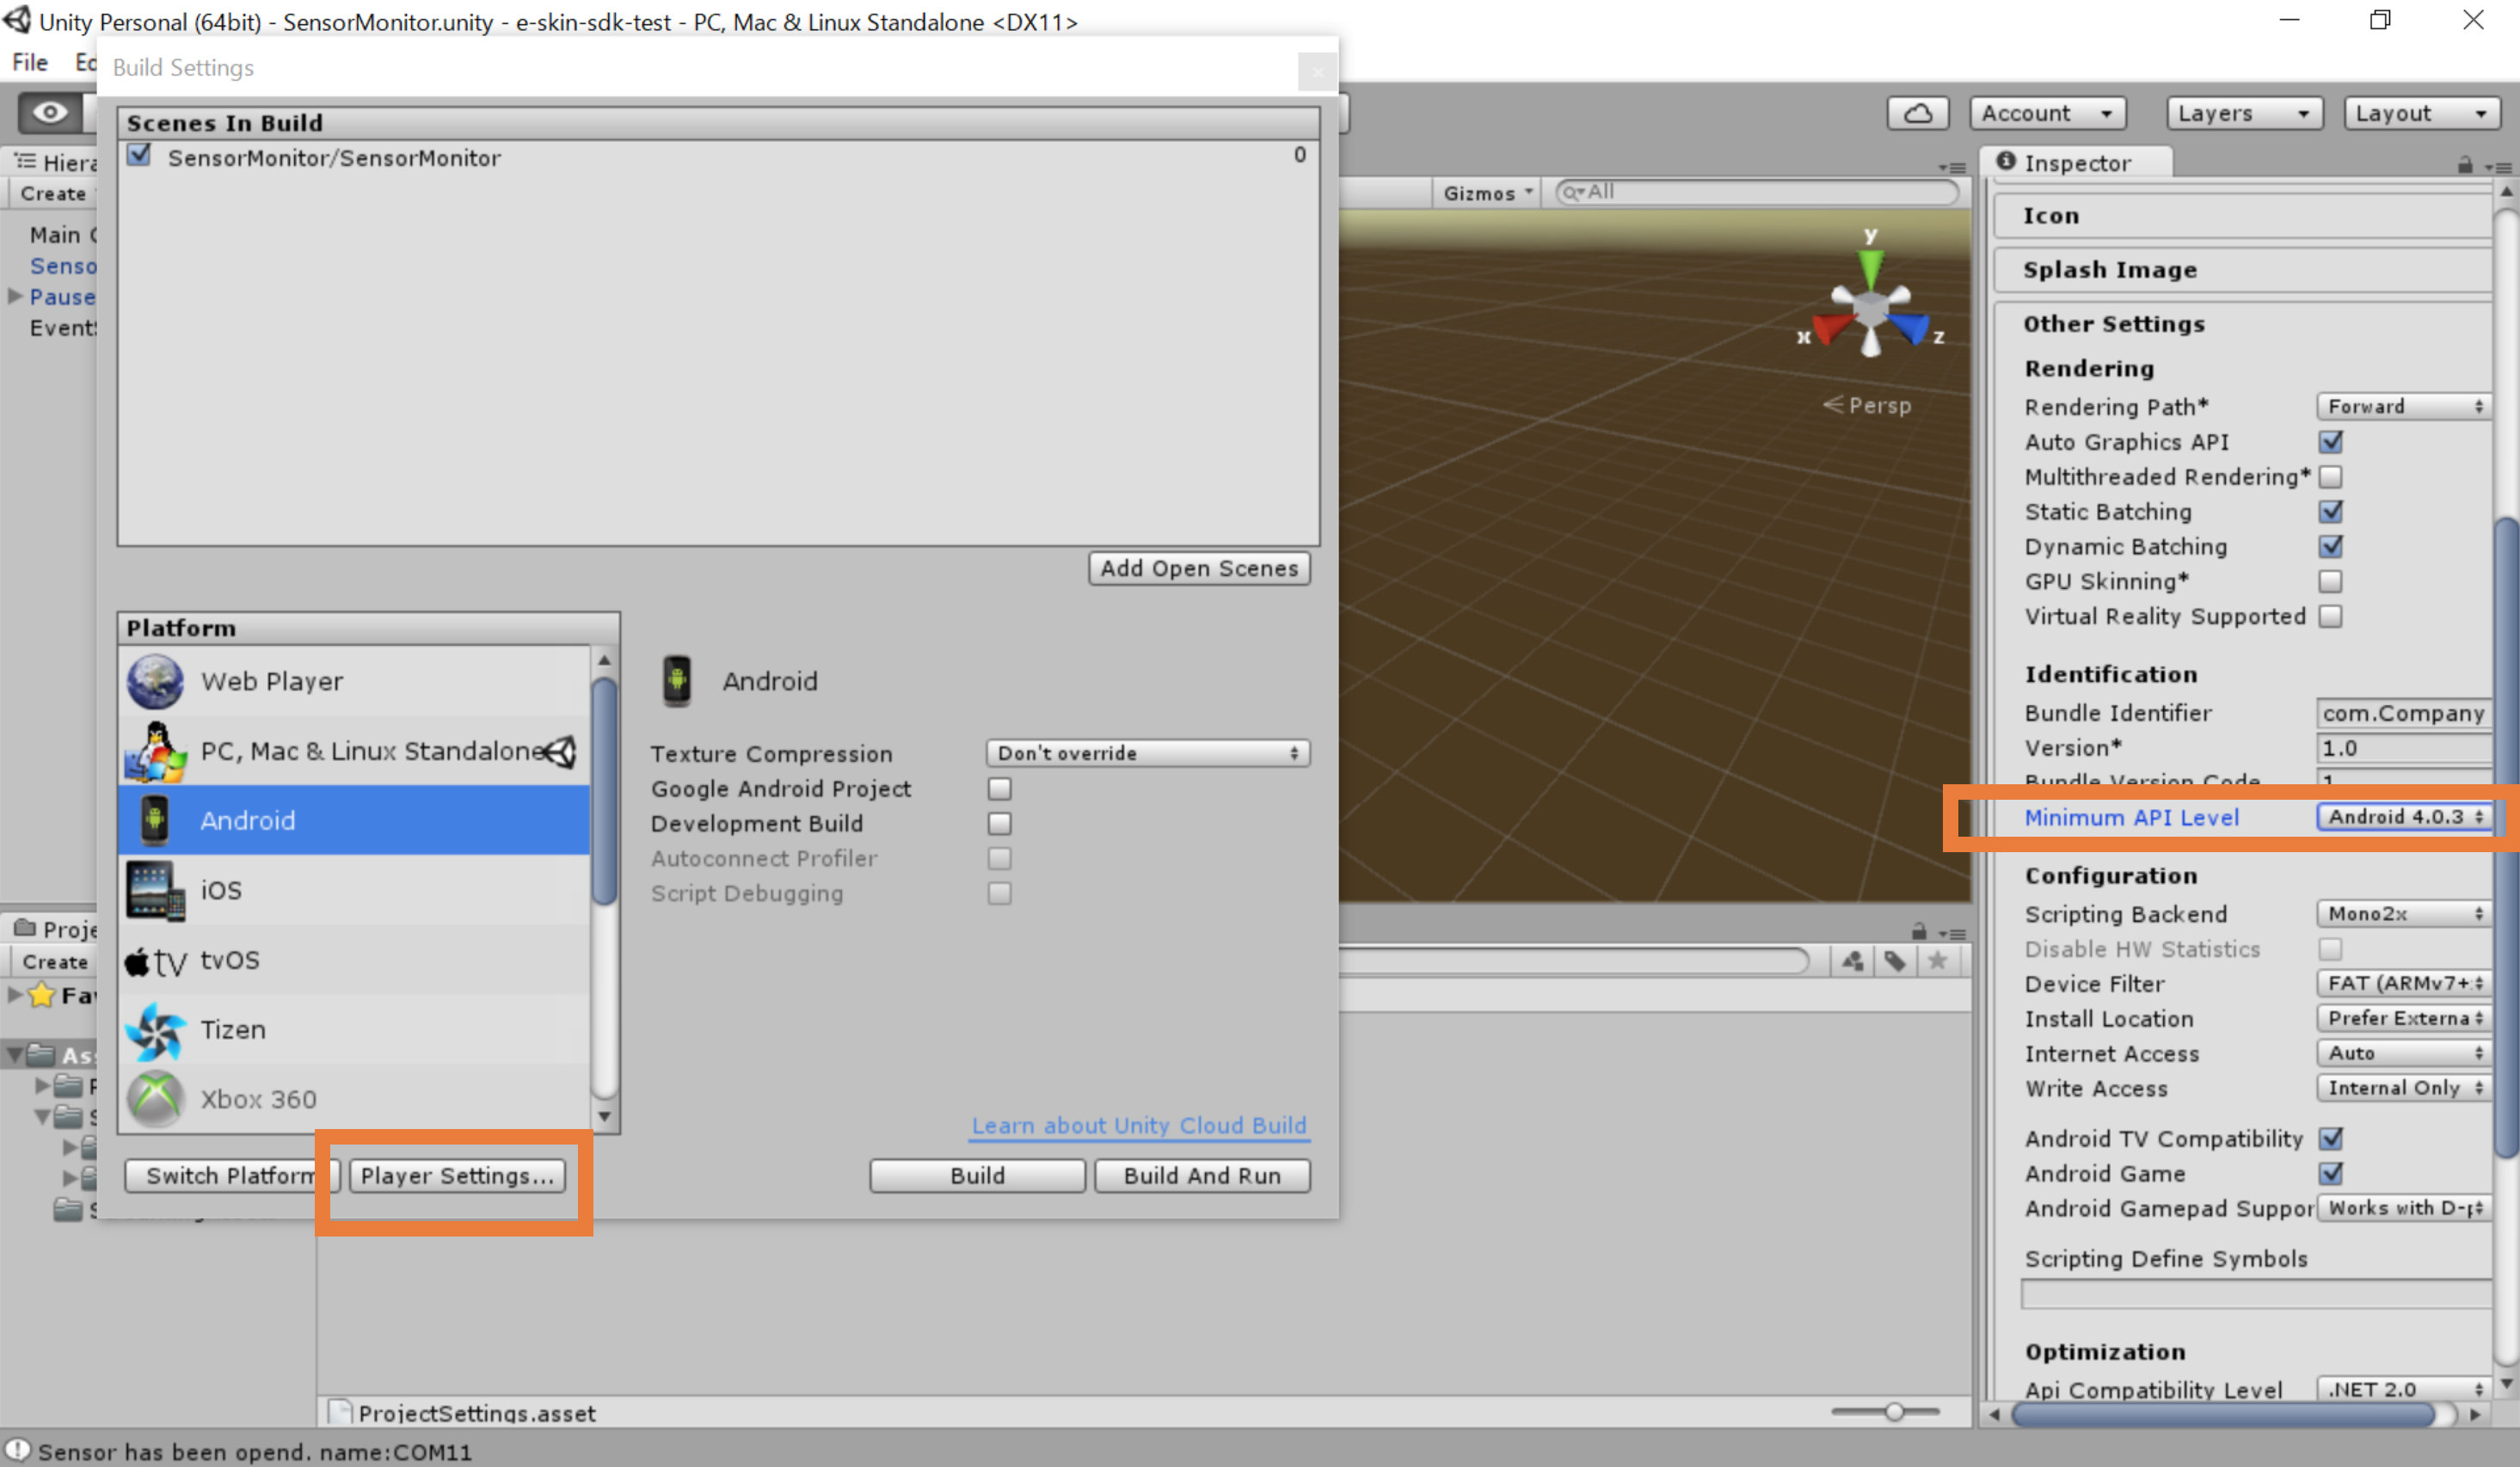
File >> BuildSettings, click AddOpenScenes button to add [SensorMonitor/SensorMonitor]. Next click PlayerSettings button, then set ApiCompatibilityLevel to [.NET2.0].
Click Play button to test.
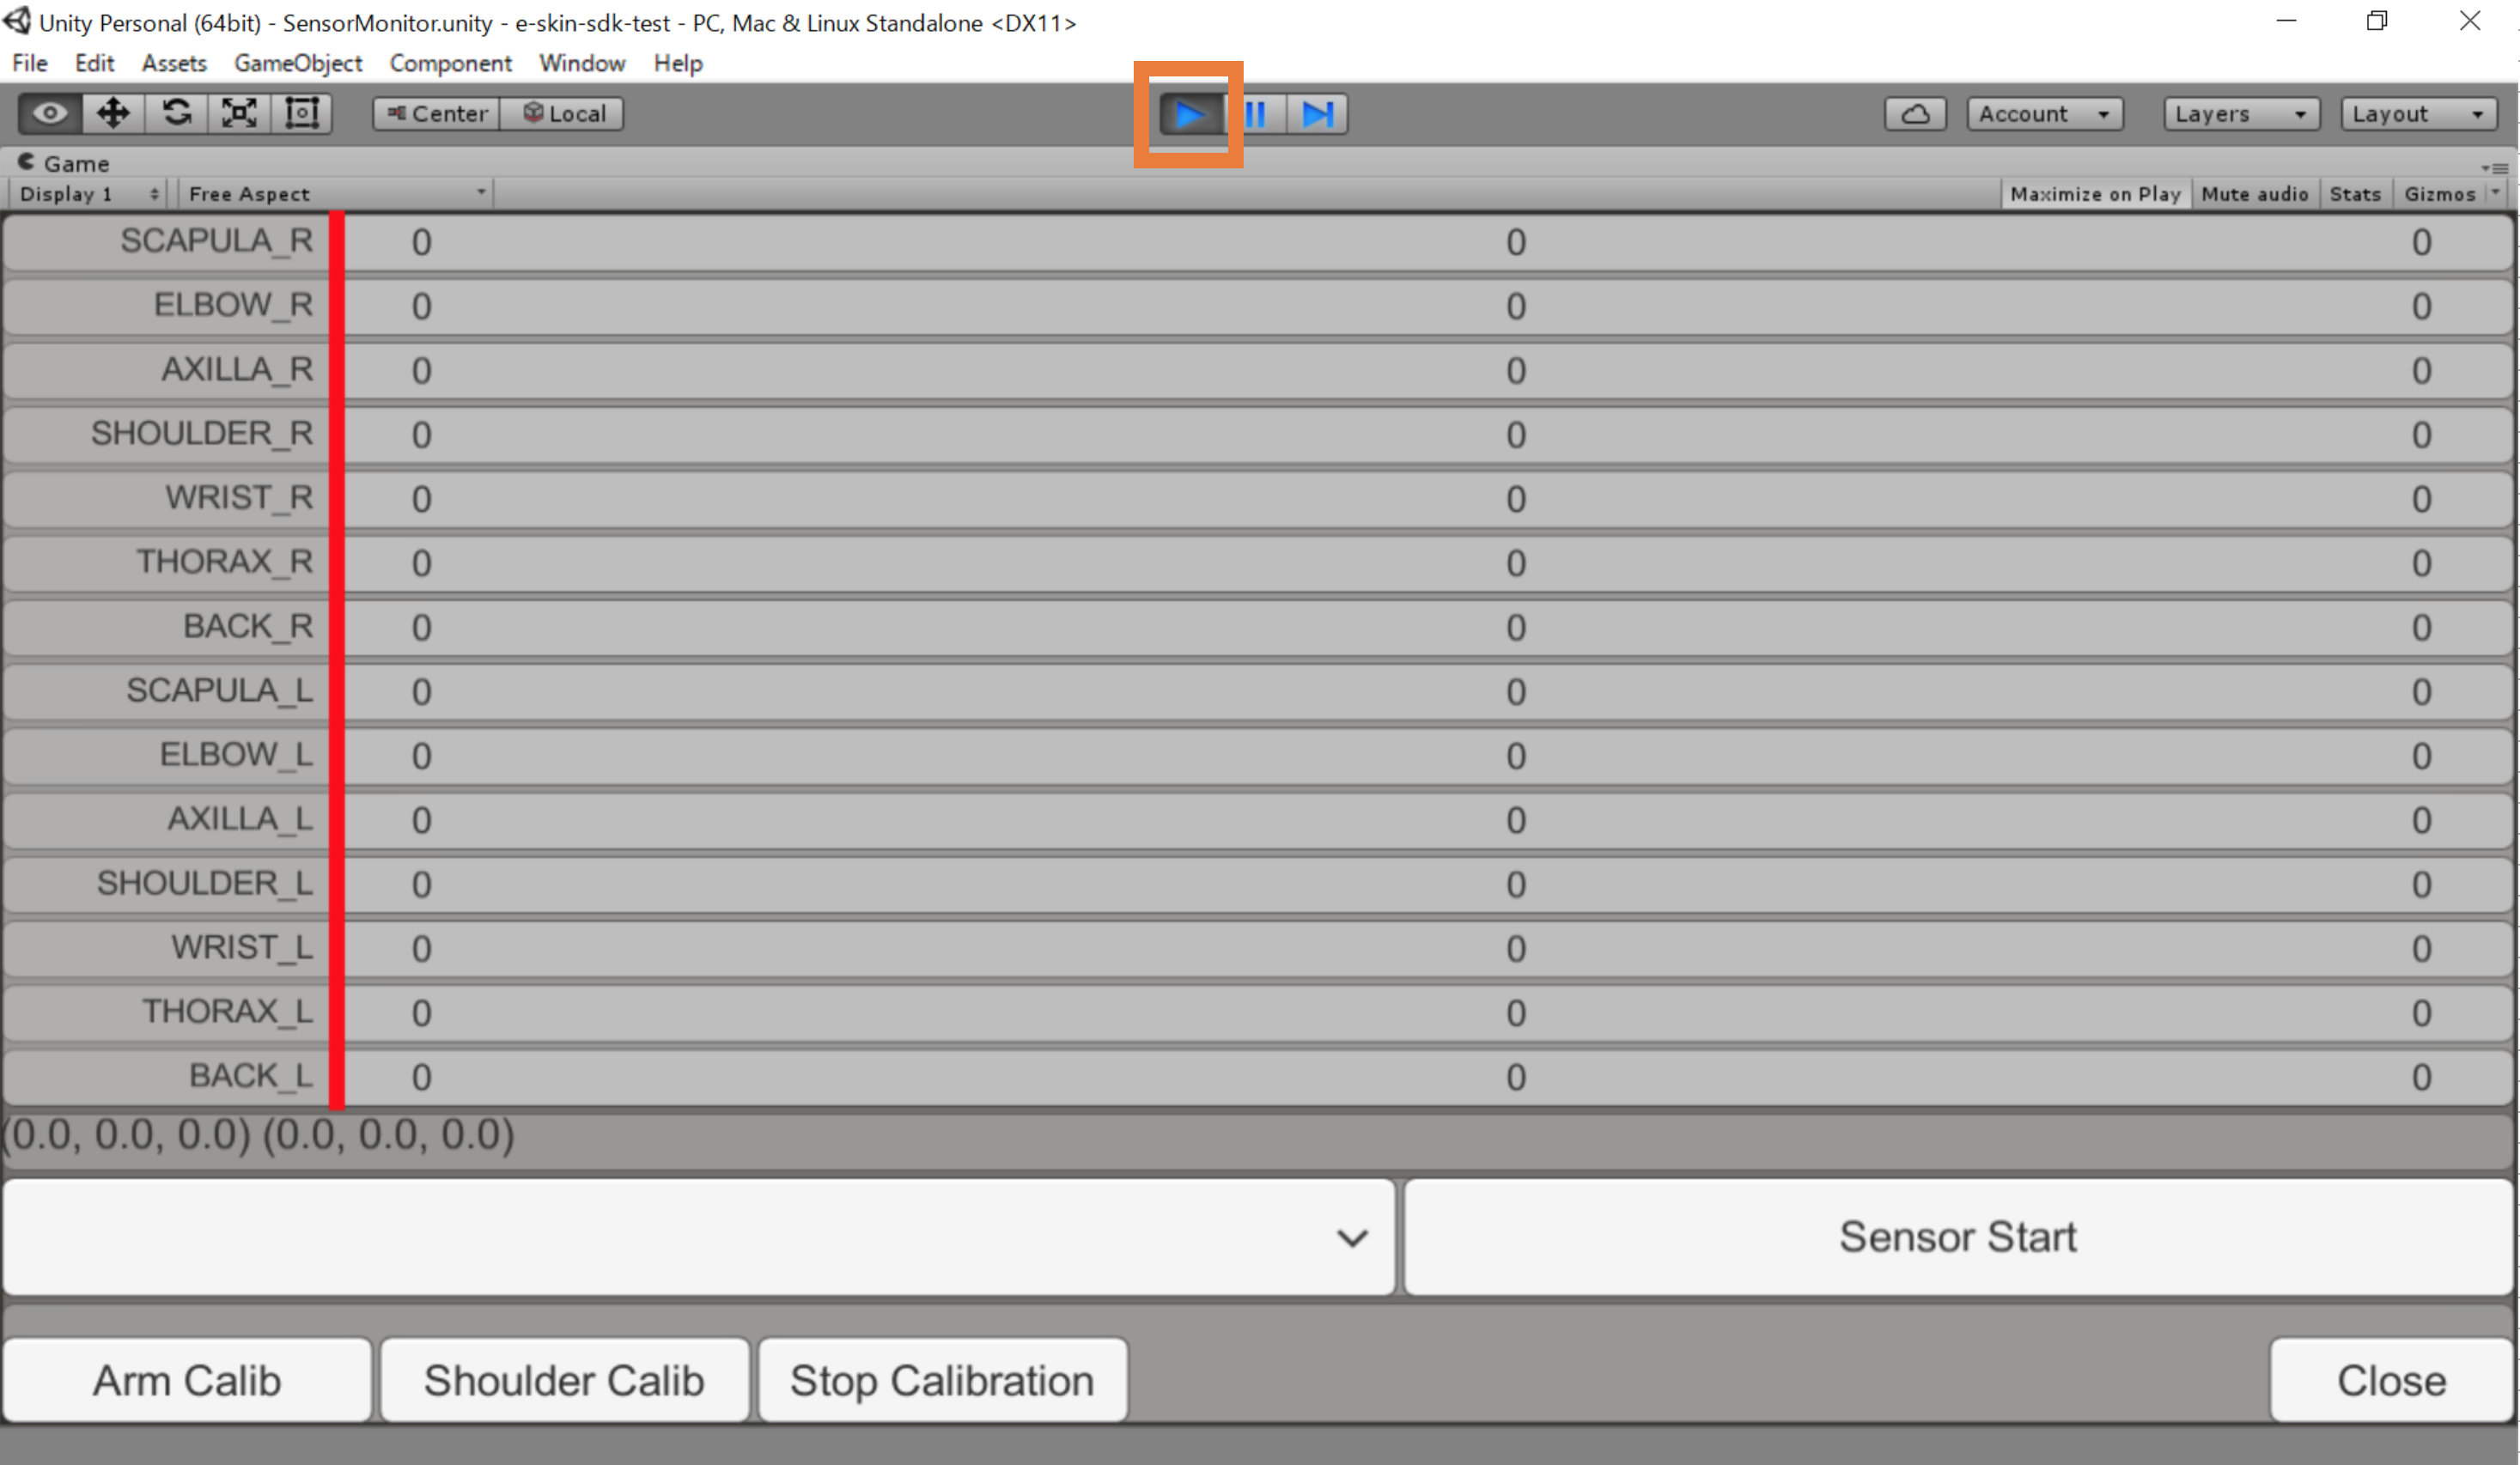
Select your [COM port], then click [Sensor Start].
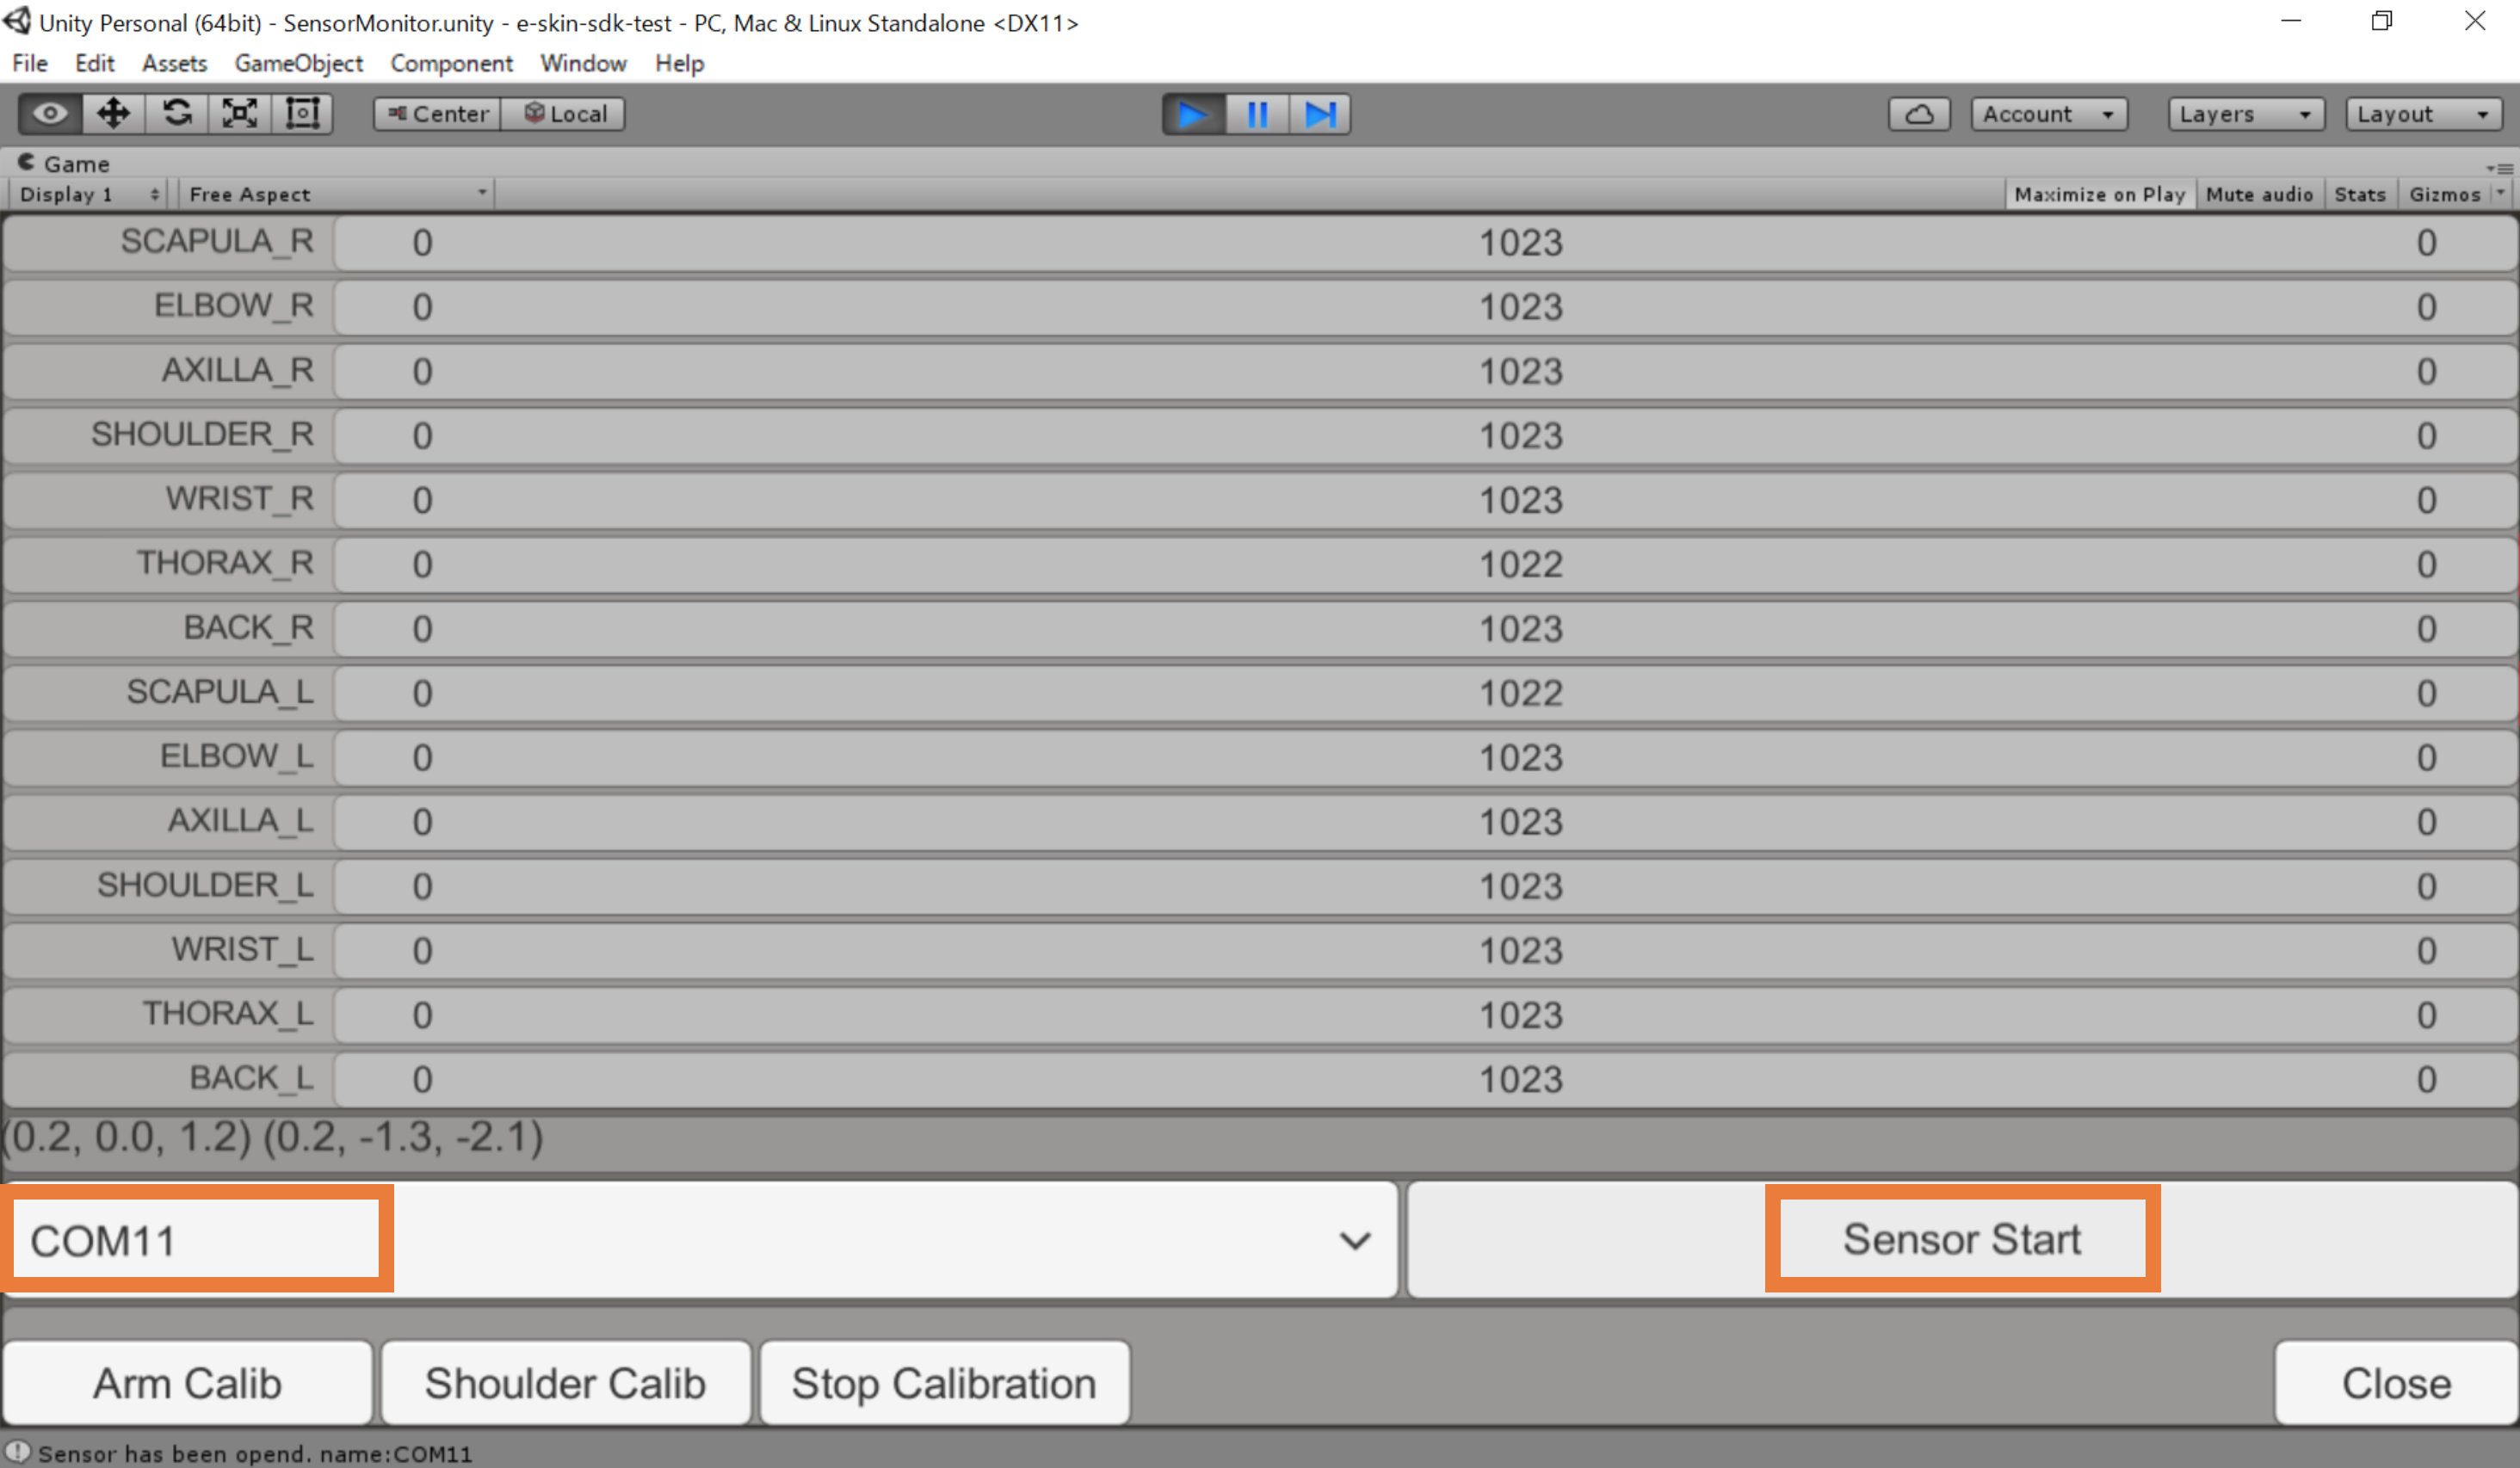
The e-skin data will be available like this.
In case of Android buildation, click PlayerSettings button, then set Minimum API Level to [Android4.0.3].
Now let’s start coding!!
See Coding Guide.
For e-skin Class/Property/Function, please refer to the API Reference.